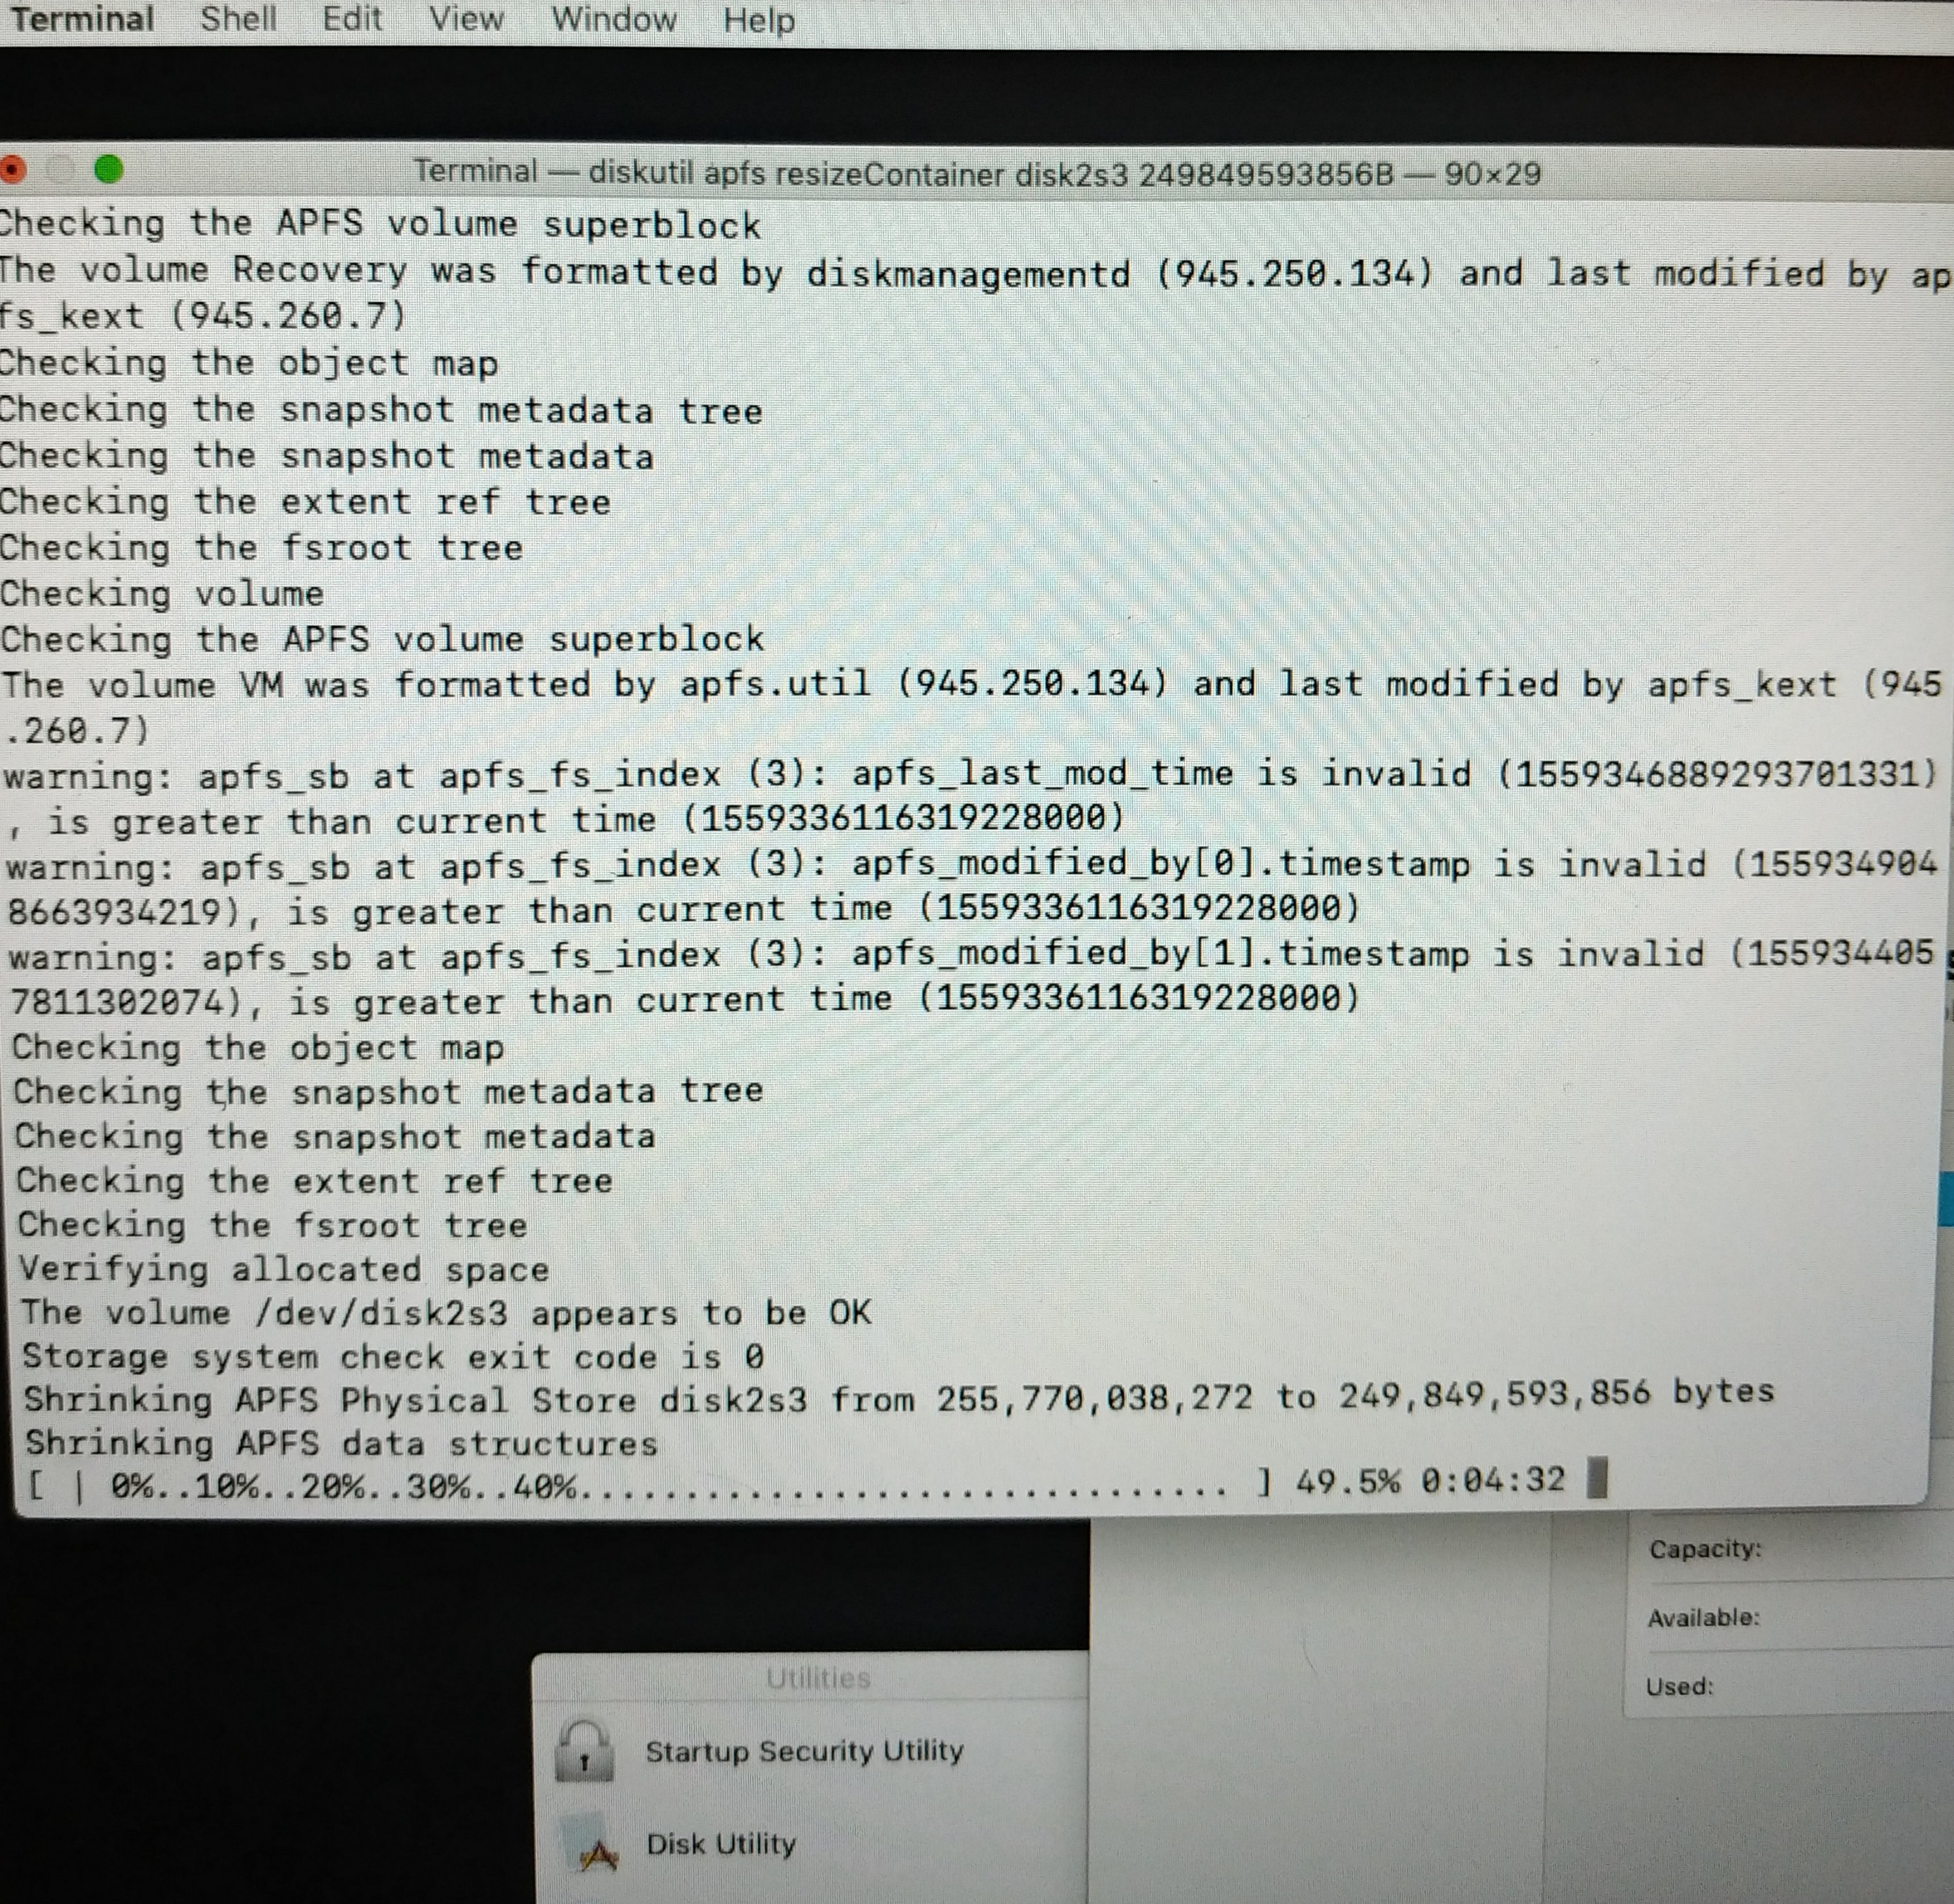
Disclaimer: Sorry for the phone pics of my screen, I was using an installer disk for this procedure and there was no screenshot feature.
I’m migrating a MacOS install but the source drive is 256GB and the destination is 250GB. It’s not too much of a mismatch, but still prevents a straight-across restore.
What ever to do?
Well, if you’re using APFS (like you should be), then it’s pretty trivial.
First, erase your your destination disk and set it to APFS.
The GUI disk utility is what I find easiest. You might have to tell the sidebar to show all devices if you have a greyed-out partition like disk0s4 and nothing else.
The nice thing about the Mojave installer is you can have two applications open at once now, which I think is still impossible in Recovery mode. So go ahead and open a terminal while you’re at it and have the two displayed the whole time.
Erase it to an APFS disk, GUID should be the only partition map option (if it’s not, select GUID).
You’re welcome to use encryption or case sensitivity if you want, but I usually opt for whatever is the easiest to troubleshoot, myself. You might want to, as well, unless you have some specific reasons otherwise.
Now for some terminal diskutil commands:
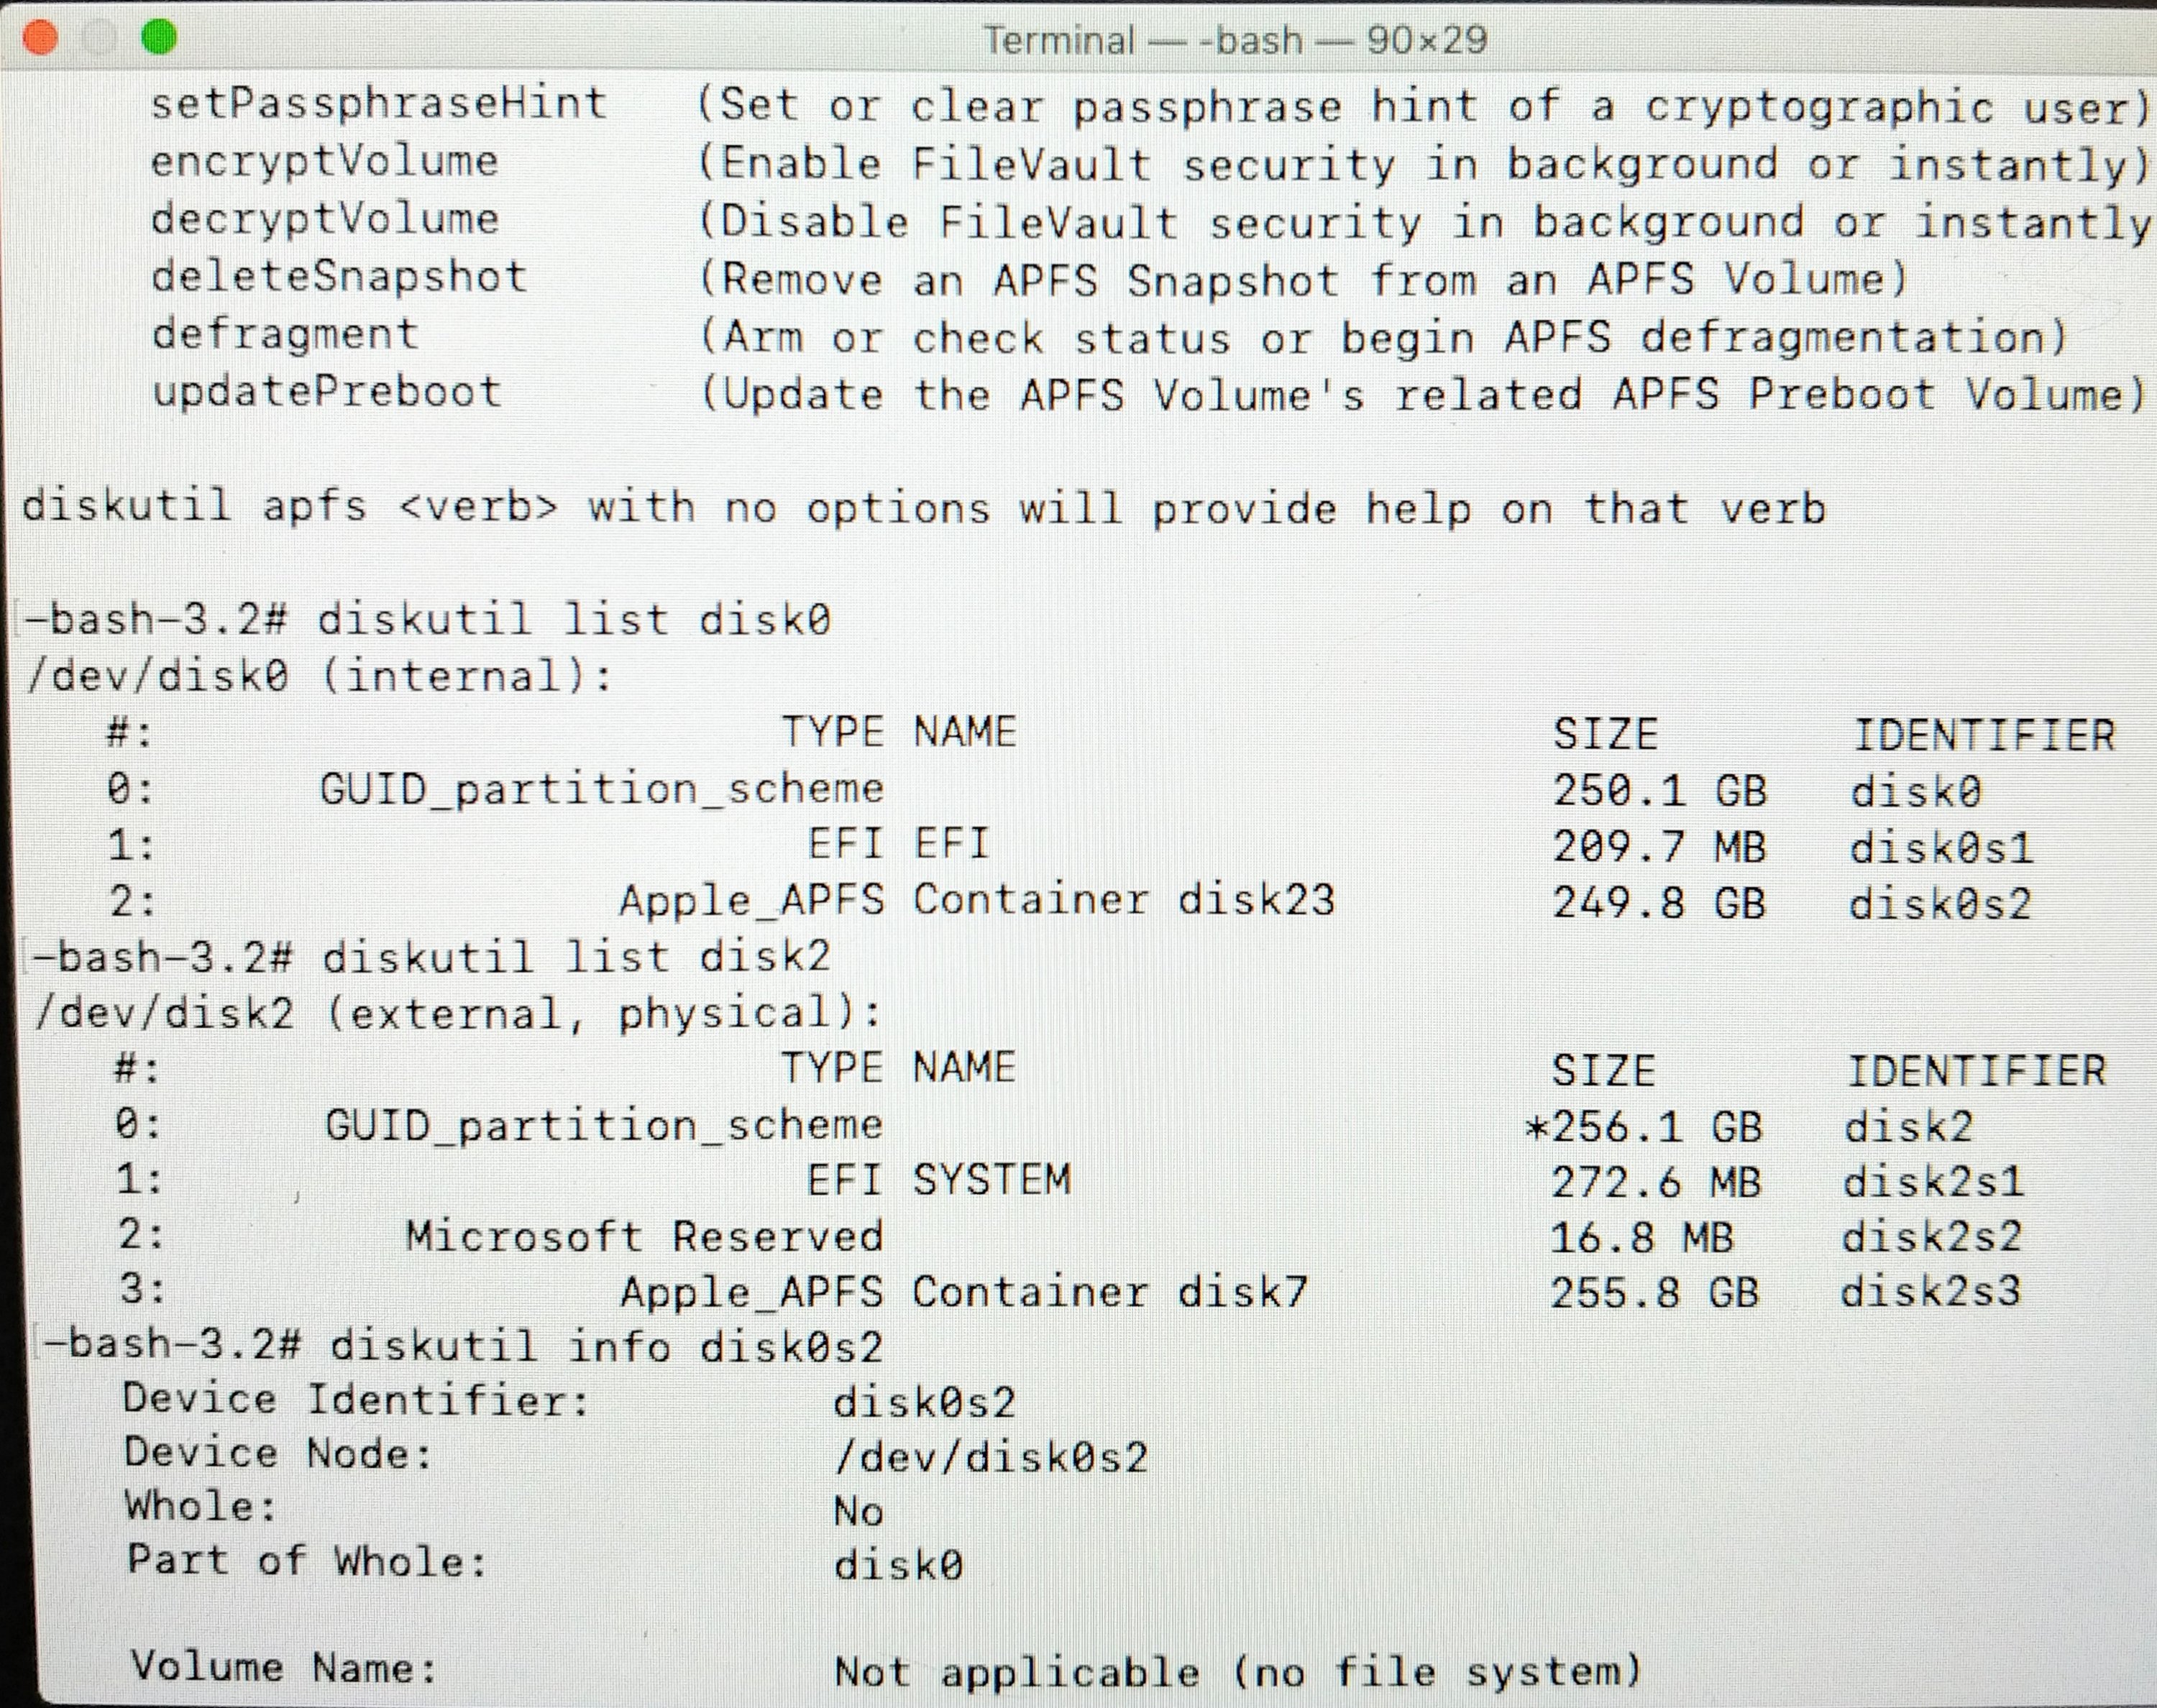
There’s a bunch of ram disks when in recovery mode, so I like to list one disk at a time. The two SSDs here are disk0 and disk2, so you can just clean up the display by invoking something like:
# diskutil list disk0 && diskutil list disk2Learn from my mistakes: I actually cloned my efi partition before I did the container resize, but I found out that you have to do it after the restore because it’ll be overwritten. So wait until the last step before you restart the computer.
Then get the exact sizes of your source and destination drives with:
# diskutil info disk0 | grep Size && diskutil into disk2 | grep SizeNote: My laptop had the 250GB destination drive installed internally so it was the first drive that was detected, disk0, but these numbers (and perhaps even the partition, or ‘slice’, number s3) can change, so make sure you identify them properly because you can mess things up big time.
Then you’ll want to get the size of the APFS container itself, in this case it’s on partition 2 of disk 0. This is our limit.
# diskutil info disk0s3 | grep Size && diskutil into disk2s3 | grep SizeNote: You can just run the first part of the command before the && if you don’t feel like comparing, just make sure it’s actually your destination container.
You can also get the container limits with:
# diskutil apfs resizeContainer disk0s3 limitThis could be helpful in a scenario where the drives have a greater difference in size, or if the source container is very full, to see if you might be trying to make the container smaller than it’s constrained.
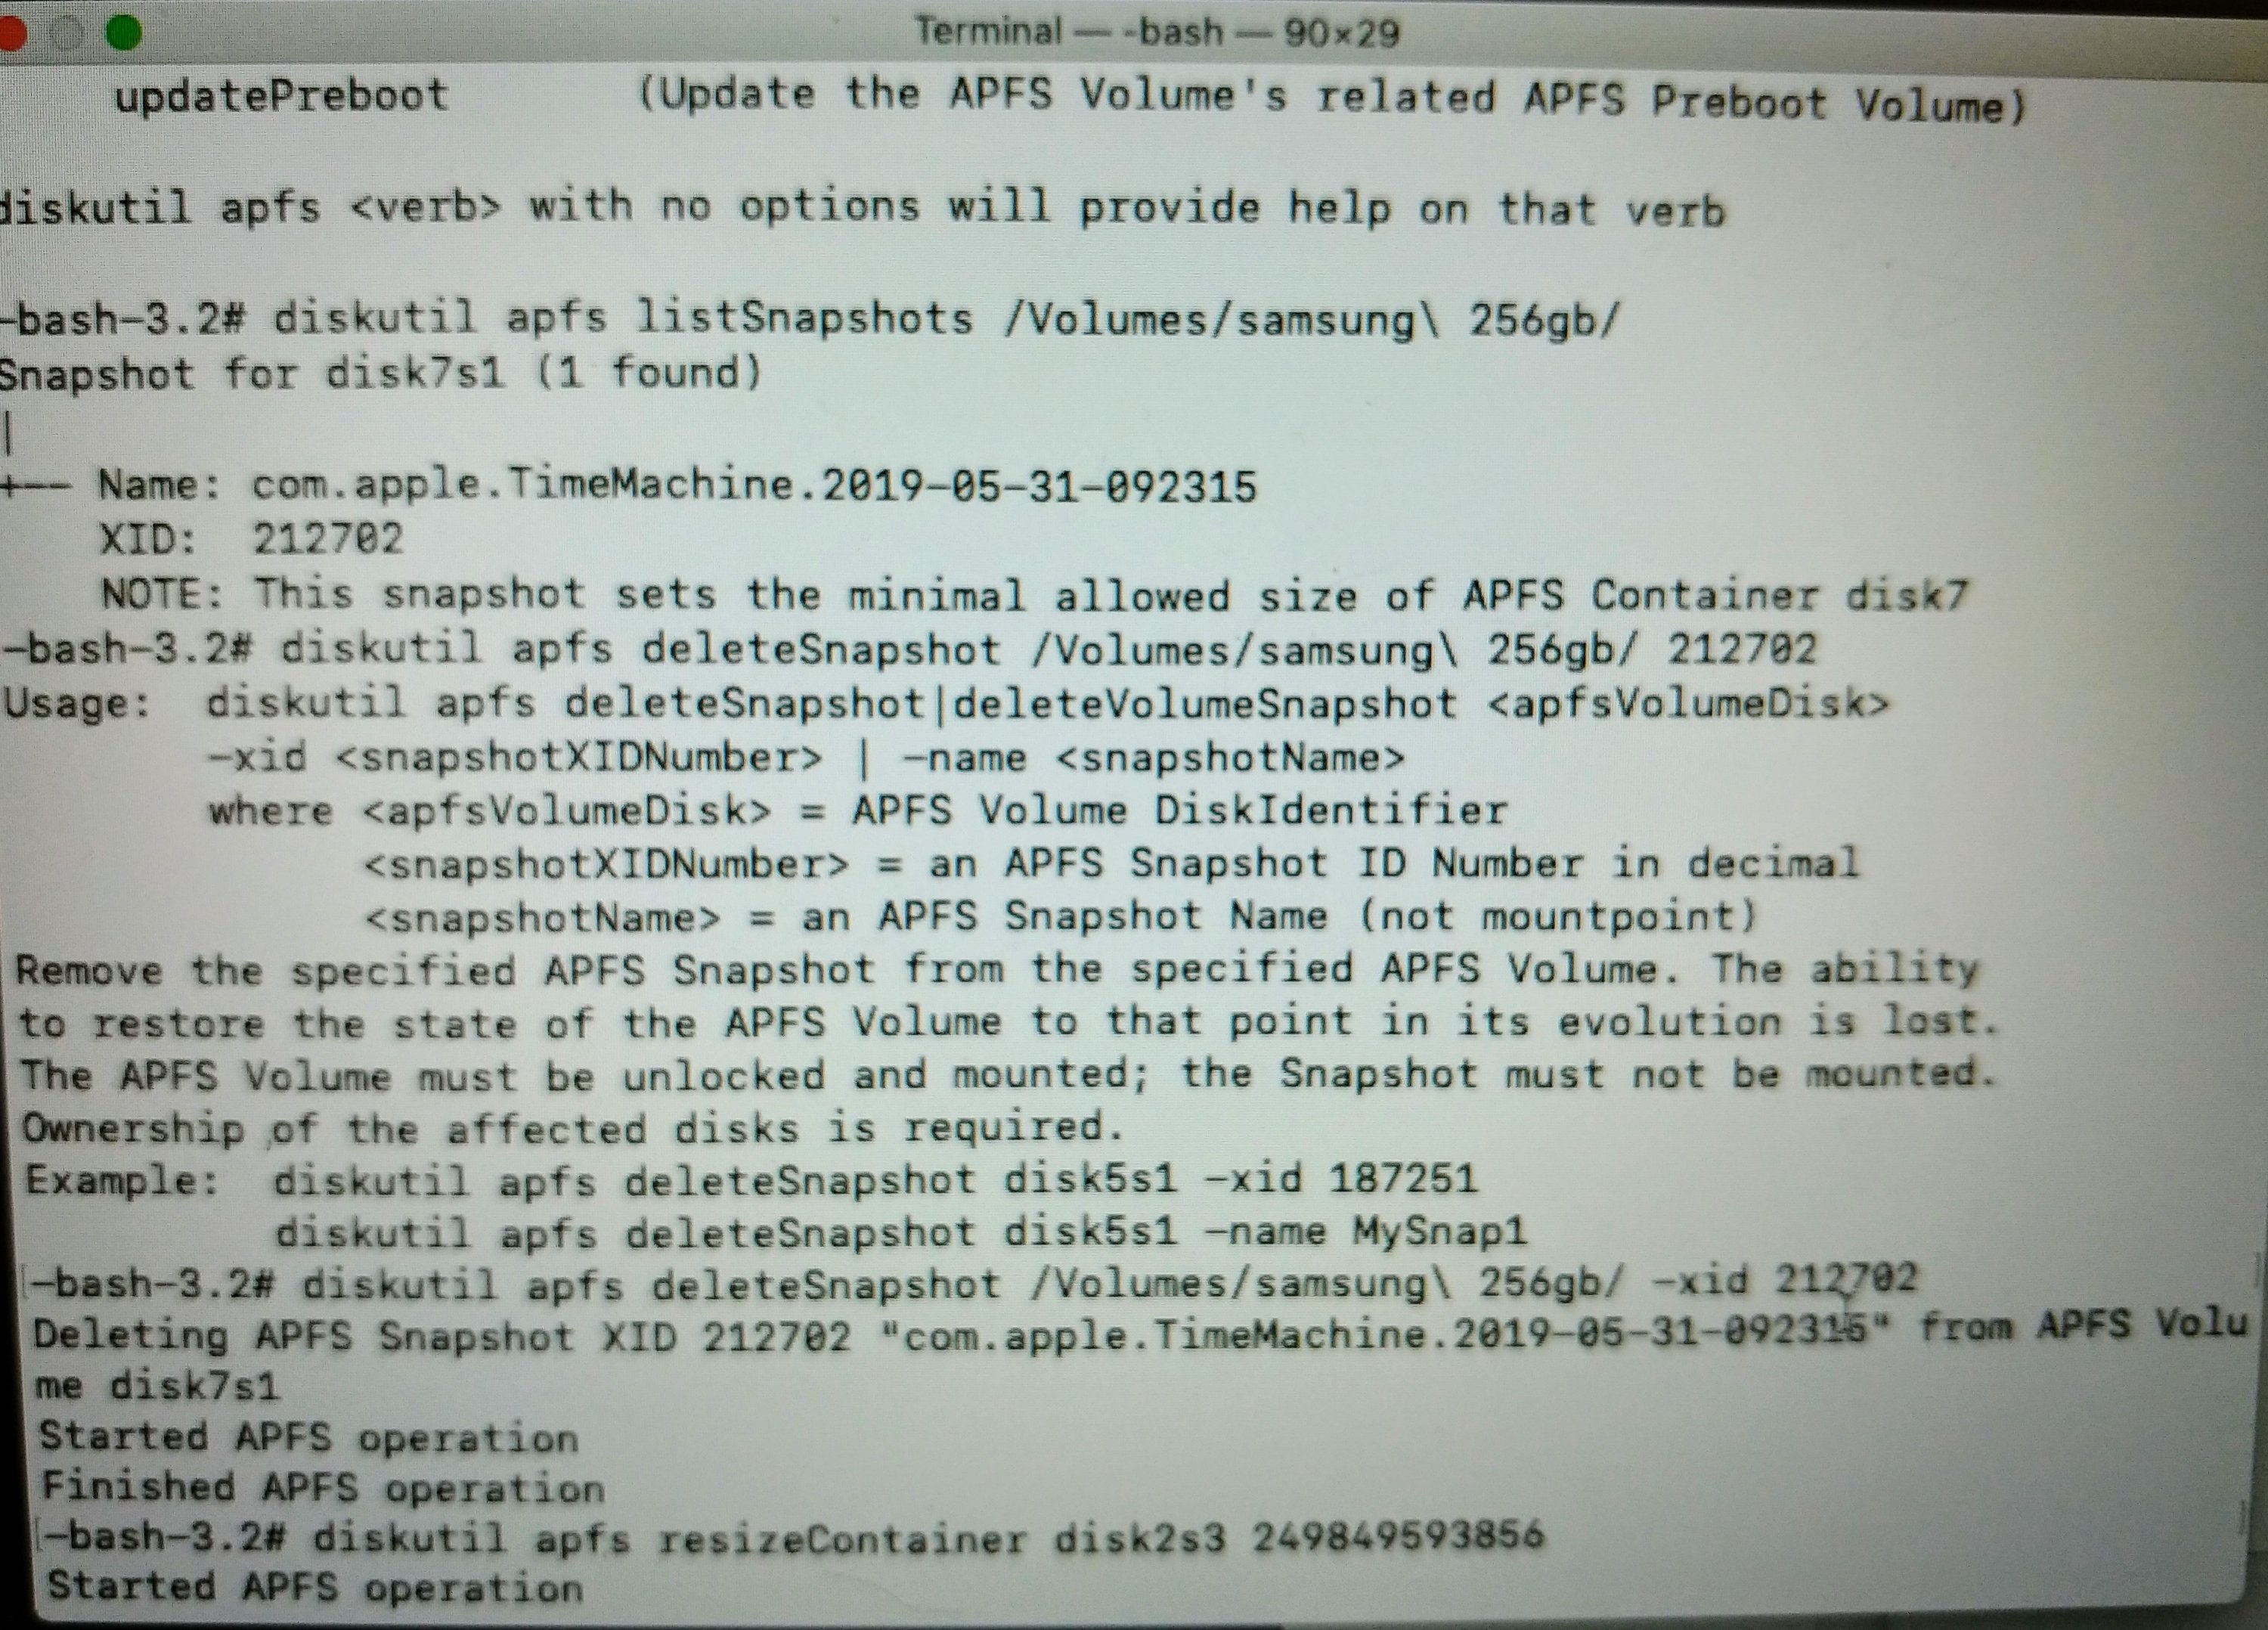
If you get a resize error you might have to delete the snapshots off the source container, as they refer to the total size of the container at the time they are taken. Thus, they can no longer be restored if the container is resized.
Snapshots are deleted from the source drive, which must be mounted, by invoking:
# diskutil apfs deleteSnapshot /Volumes/nameOfSourceDrive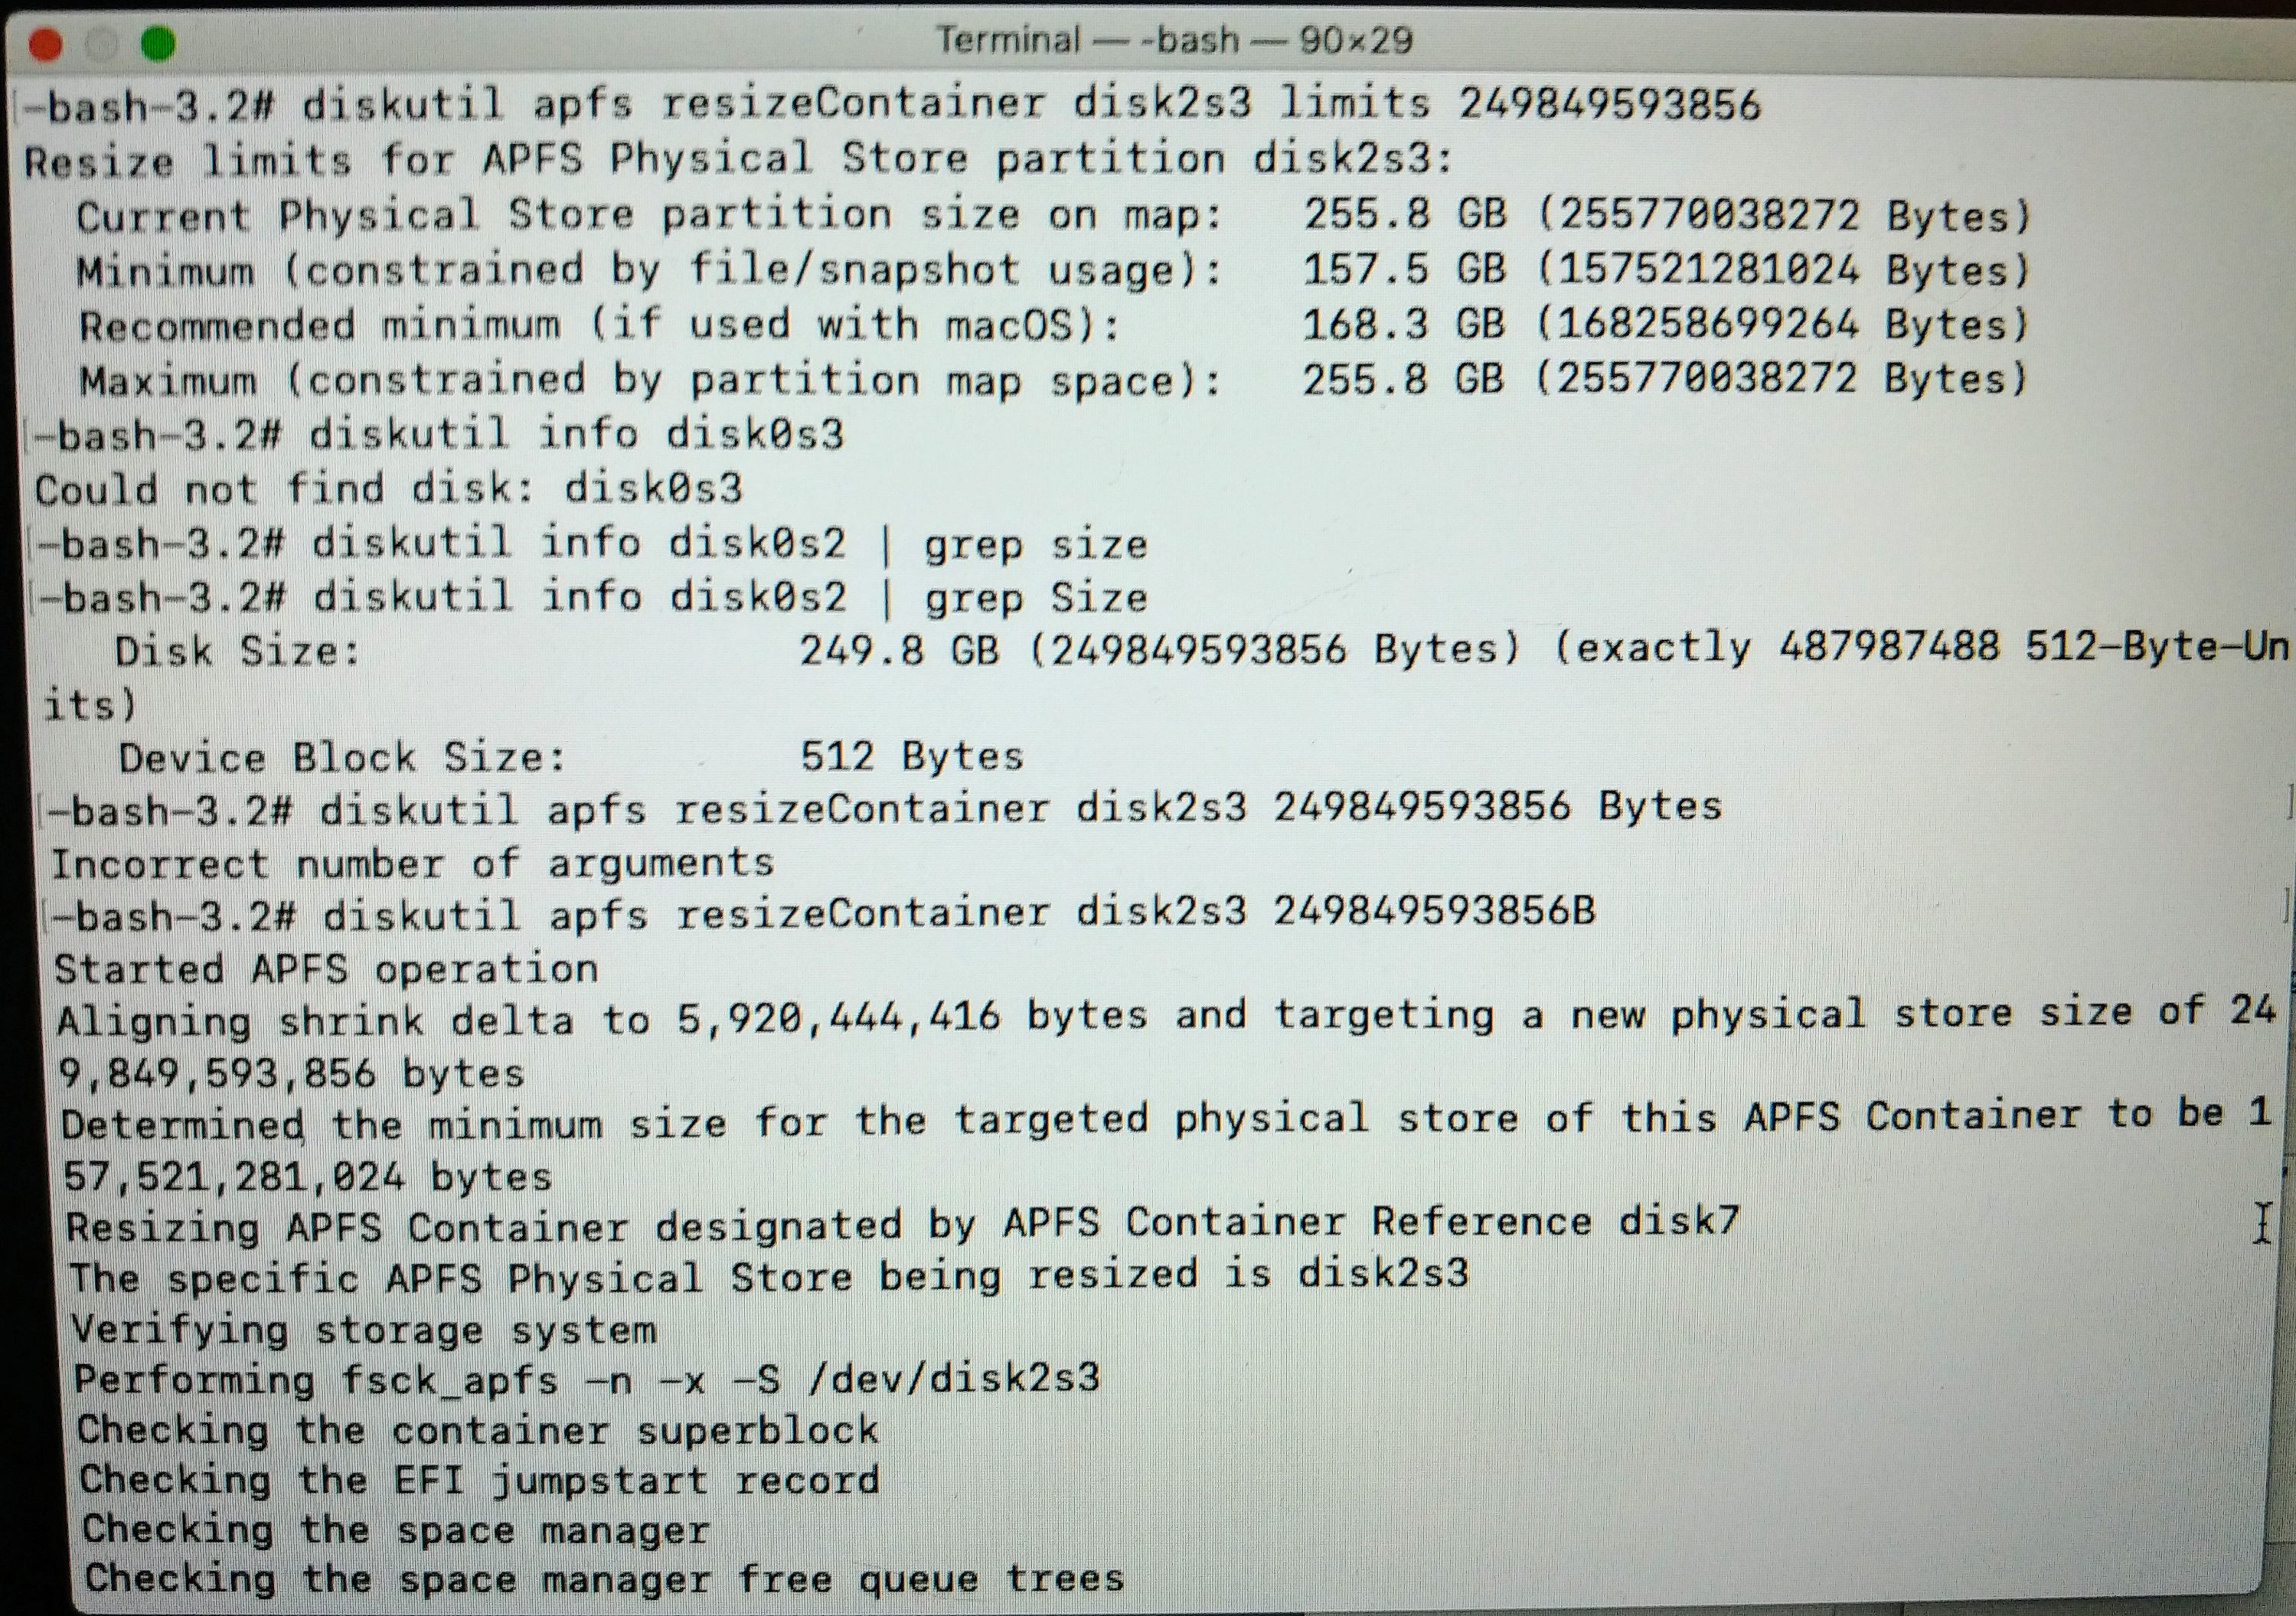
Then when you actually resize the container, use the bytes listed from # diskutil info [destination container] | grep Size that you got earlier. I recommend copying and pasting.
# diskutil apfs resizeContainer disk2s3 249849593856BNote: Don’t forget the ‘B’ at the end!
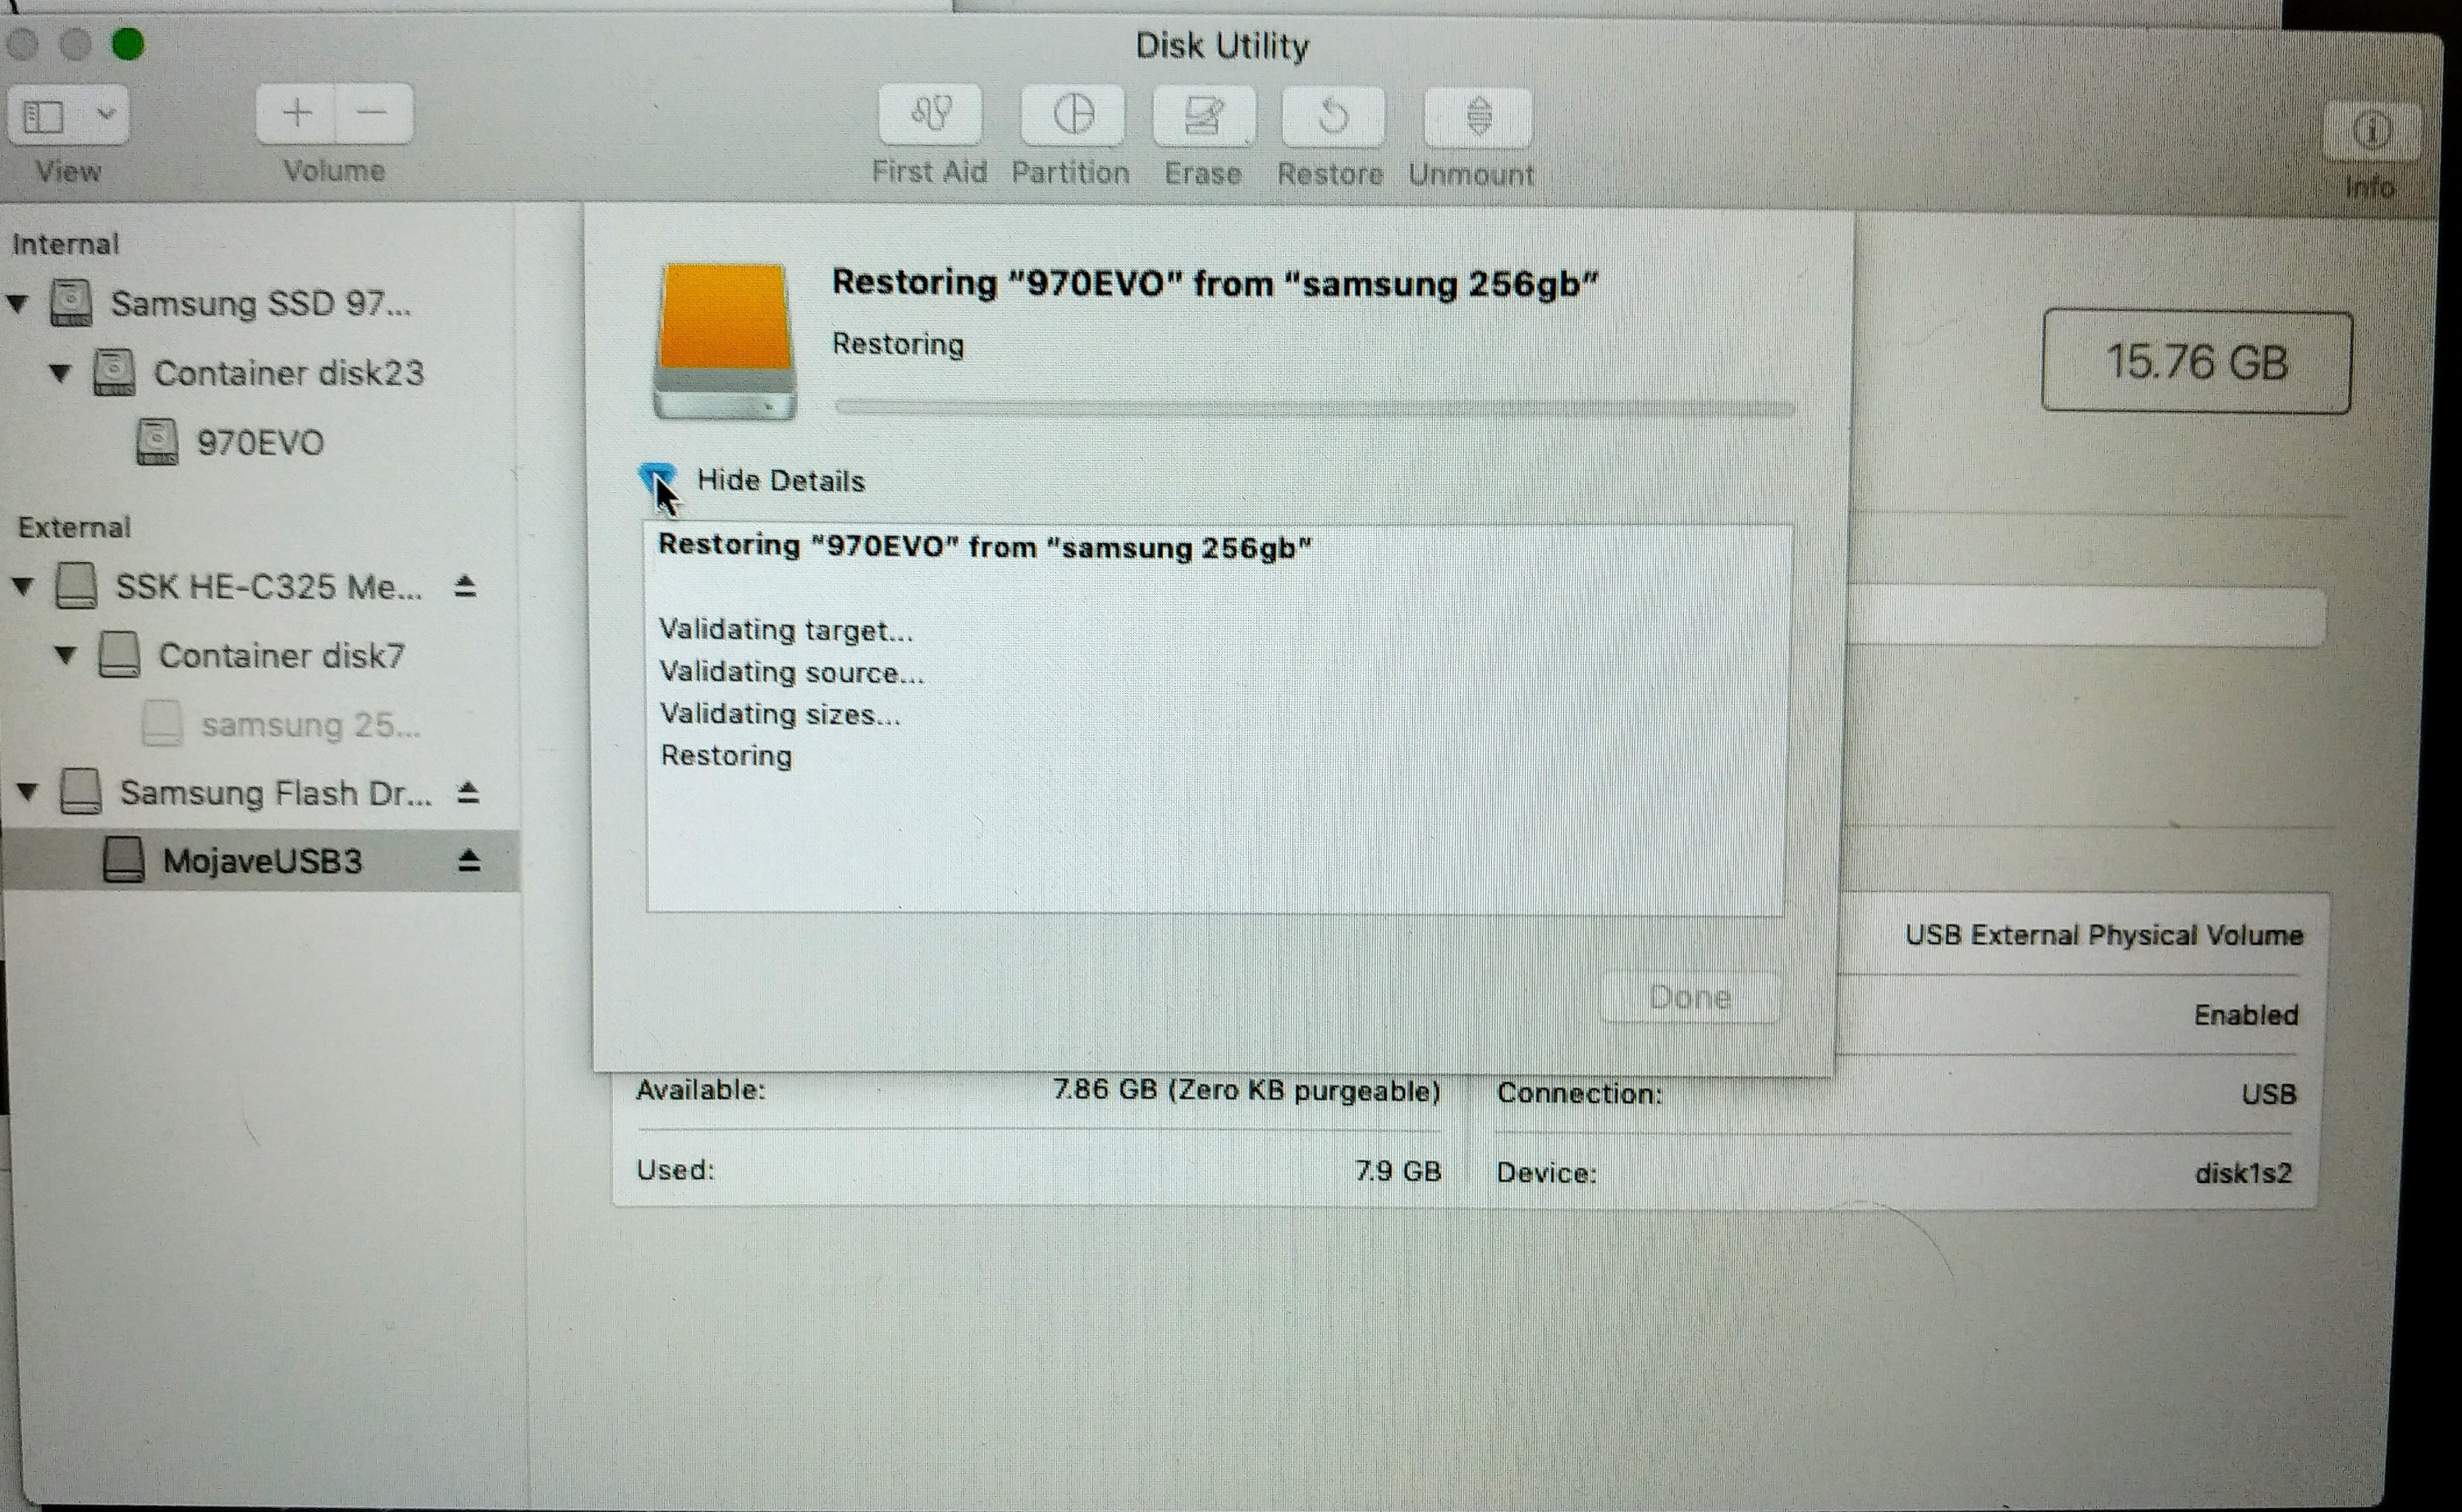
Then you can go back to the GUI disk utility and start the restore by selecting the destination drive and clicking restore on the top panel. Choose your source drive and it should get going.
Note: Depending on the size of your drives and the amount of information stored on the source, this can take a long time. During the procedure I was doing while writing this, two ~250GB NVMe SSDs (one connected with USB 3.0) with a source containing ~160GB of data took about 4-5 hours. It’s an exercise in patience.
Clone your EFI partition using dd:
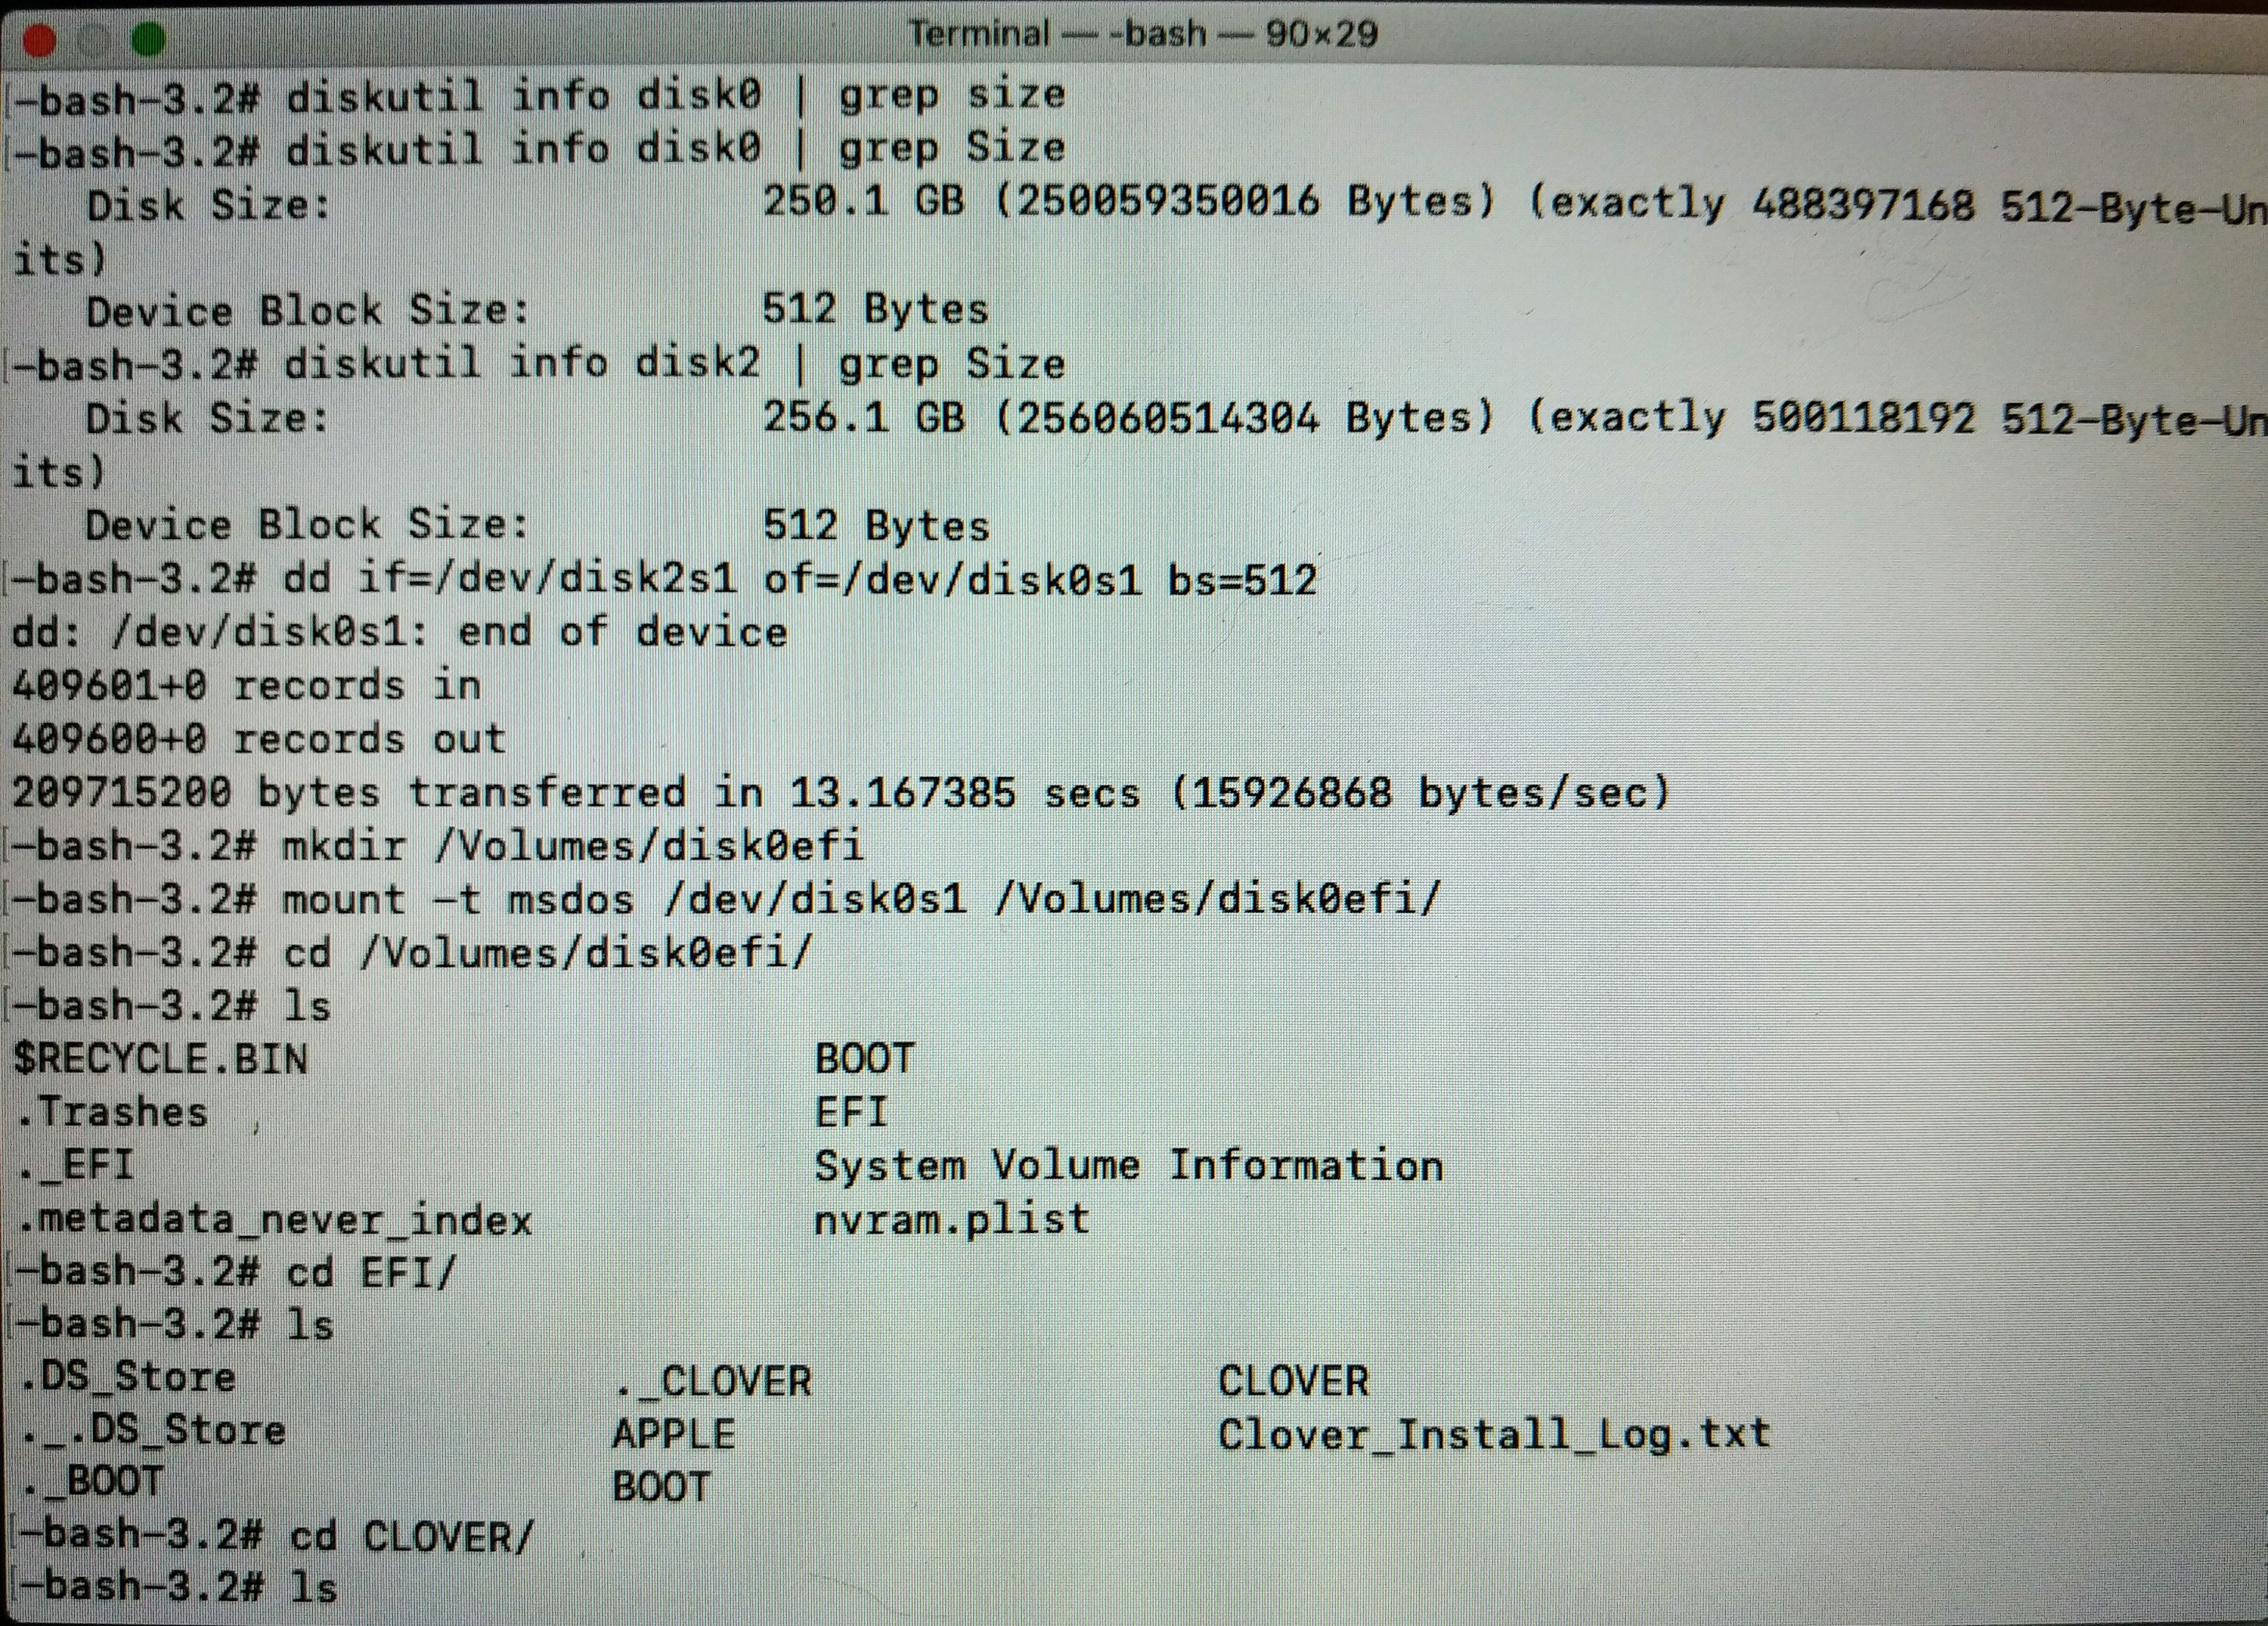
Now you can clone your EFI folder from source to destination and it won’t get overwritten:
# dd if=/dev/disk2s1 of=/dev/disk0s1 bs=512Note: Might want to make sure all your necessary bootloader software is there by mounting the EFI on your destination drive and poking around a bit (see commands in above picture). Otherwise you won’t be booting from this drive yet.
Also – this is important, there’s one last step – rebuild your kextcache on your destination drive:
# kextcache -i /Volumes/nameOfDestinationDriveNow you should be able to disconnect all the other drives and boot from your newly cloned drive.
Enjoy!